I thought it was now about time I registered here & post up the restoration / build of my JDM 1jz Aero Limited.
I suspect some of you have found me in the past at http://www.supradupra.com with the galactic class LED infested yUK supra, well, this is it's successor!
The original build thread can be found on the yUK MK3 site HERE.
Obviously some of the points will only be valid for the yUK but, it's a Supra & it's a build so, all is good.
This has been copied from my usual forum so, apologies if some smilies or parts are lost in translation, I make no excuses for humour!!! I will now attempt to post this thread so it reads OK, here goes!
****
The story so far.......
Introduction:
As many of you will know I had a prang in my last Aero & thanks to H&S bu1l**** the vehicle was written off for no good reason - see THIS thread for further details.
Ultimately this lead me to try & find another of these rare beauties which, by some abnormal twist of good luck I managed to do!
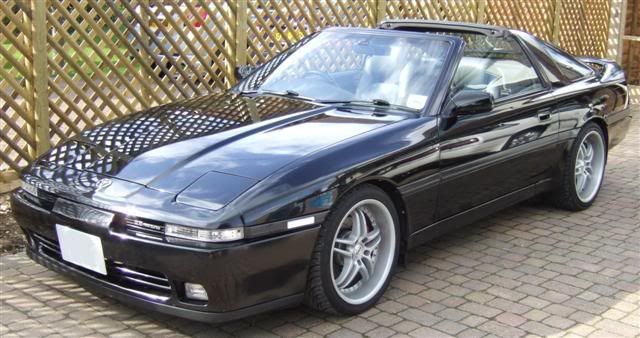
The car is a 1991 JDM Aero Limited edition fitted with an auto 1J-GTE power plant.
The car was imported into the country in 2005 has covered around 70,000 miles with a full Jap service history to boot.
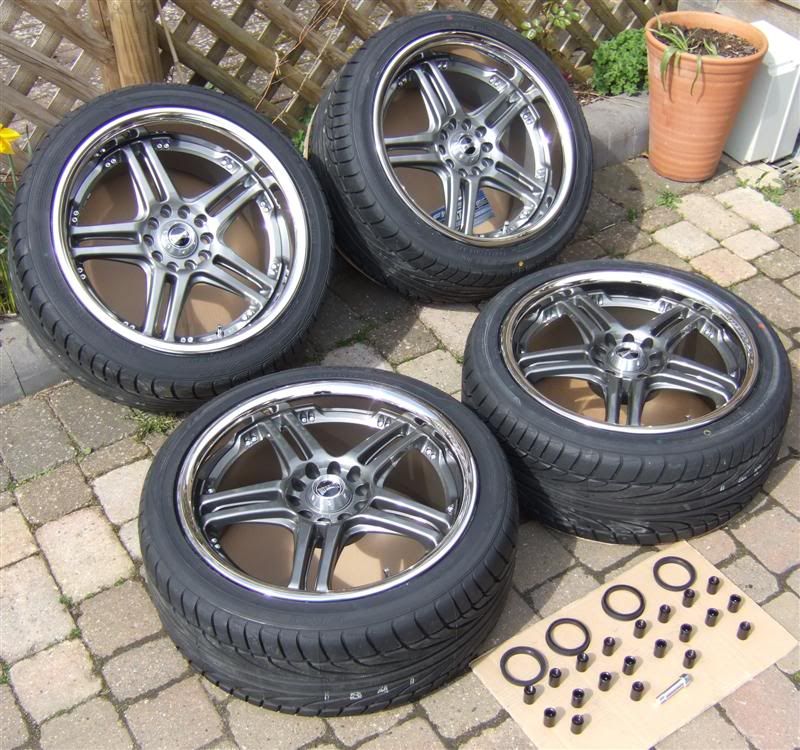
The car was standard when I got it with the only mods being fancy wheels, an aftermarket air filter and blitz dump valve - which was not even connected to work.
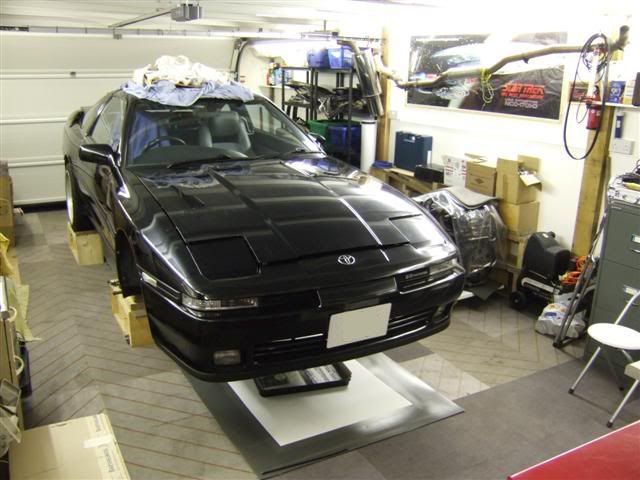
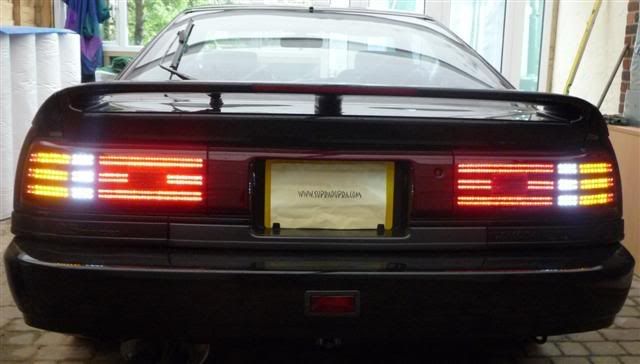
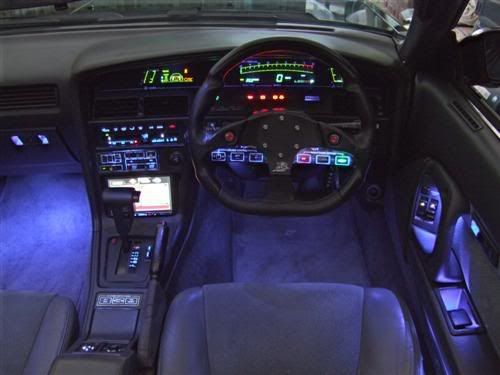
Here she is before the refurb.
Action plan:
The plan is to refurbish this car from the wheels up. This work will include:
- Complete underside strip, resealed, waxoiled & restored. Will be forming some rear plastic arch liners too.
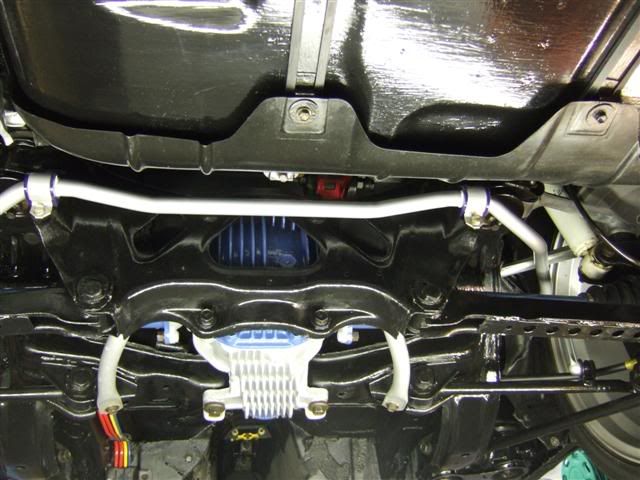
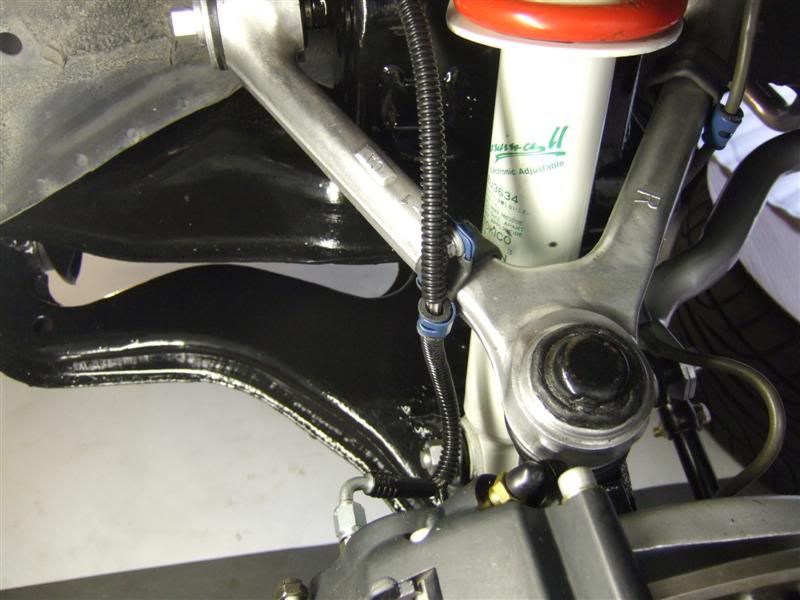
- Complete suspension rebuild front and back, full polly pushings, Tokico TEMS shocks, spax springs, strut braces & anything else which requires replacement during build.
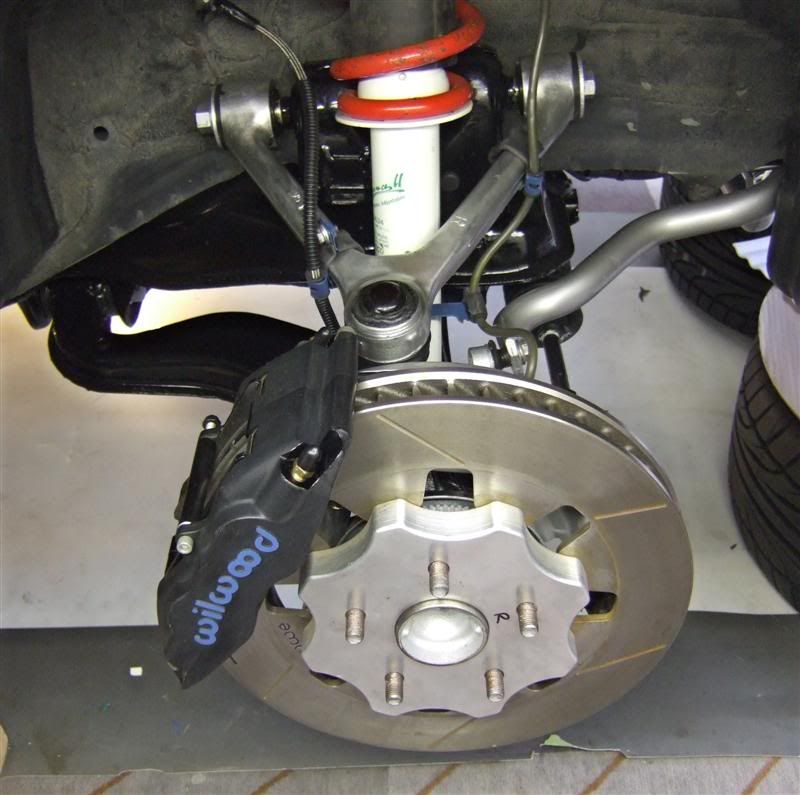
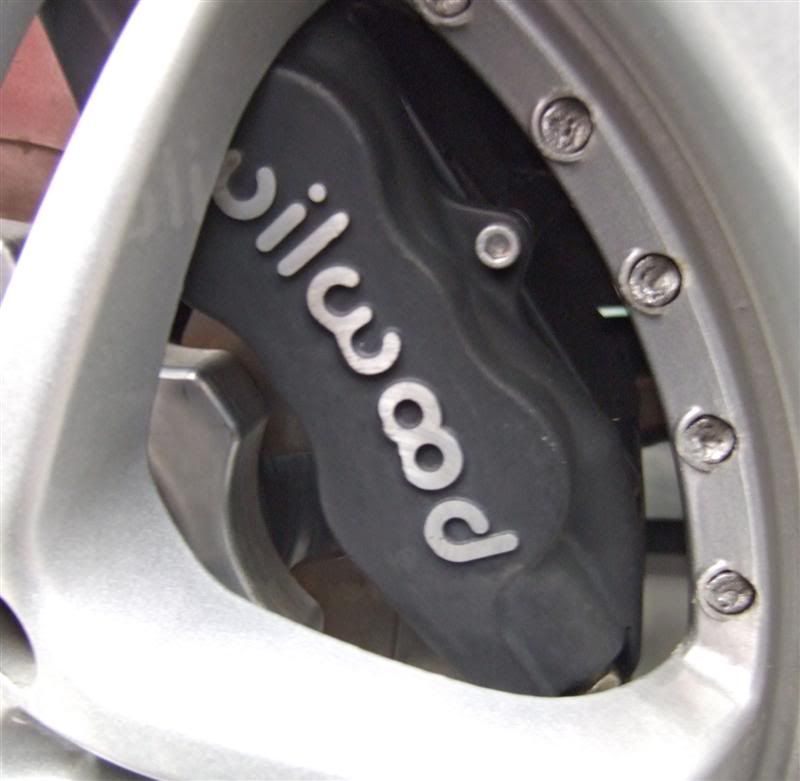
- Uprated brakes with larger fronts, stainless hoses - investigating kits at present.
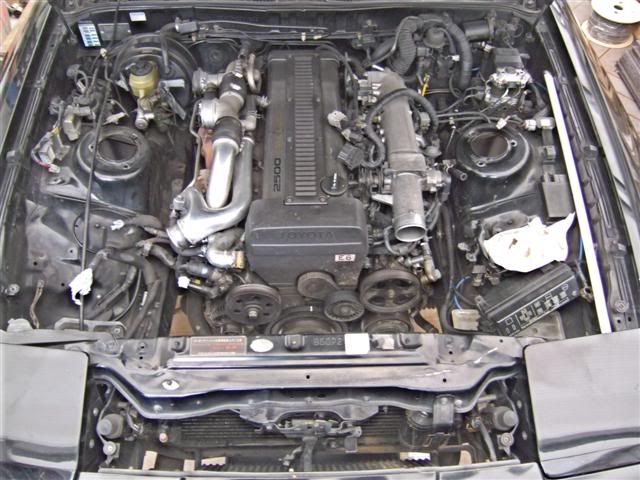
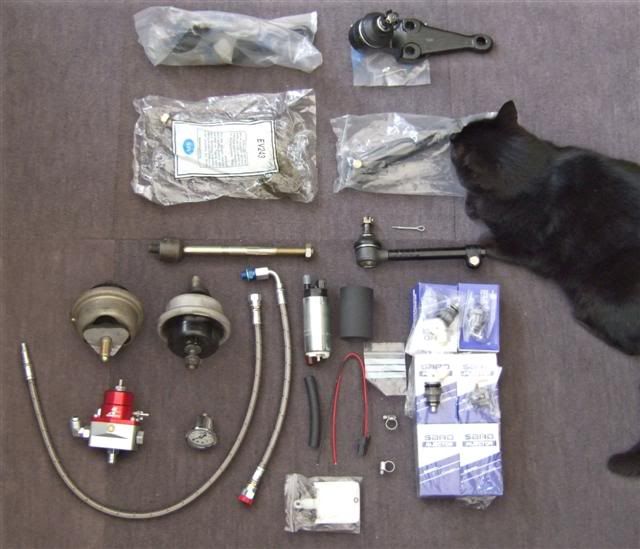
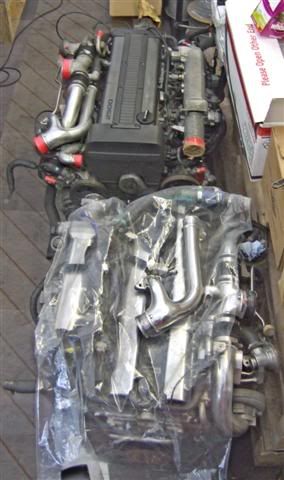
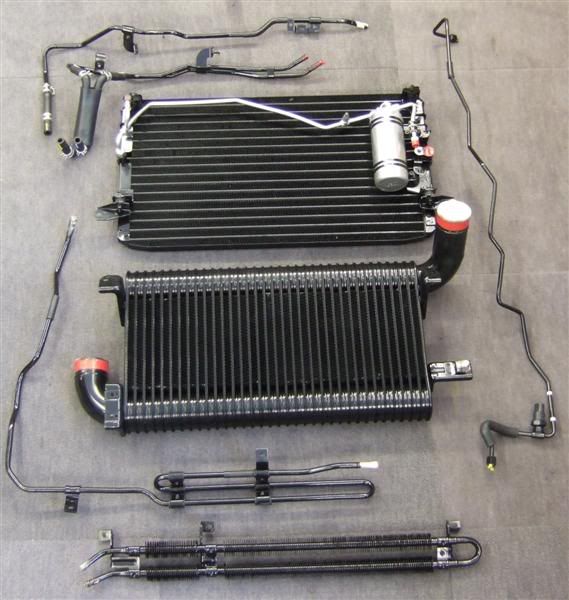
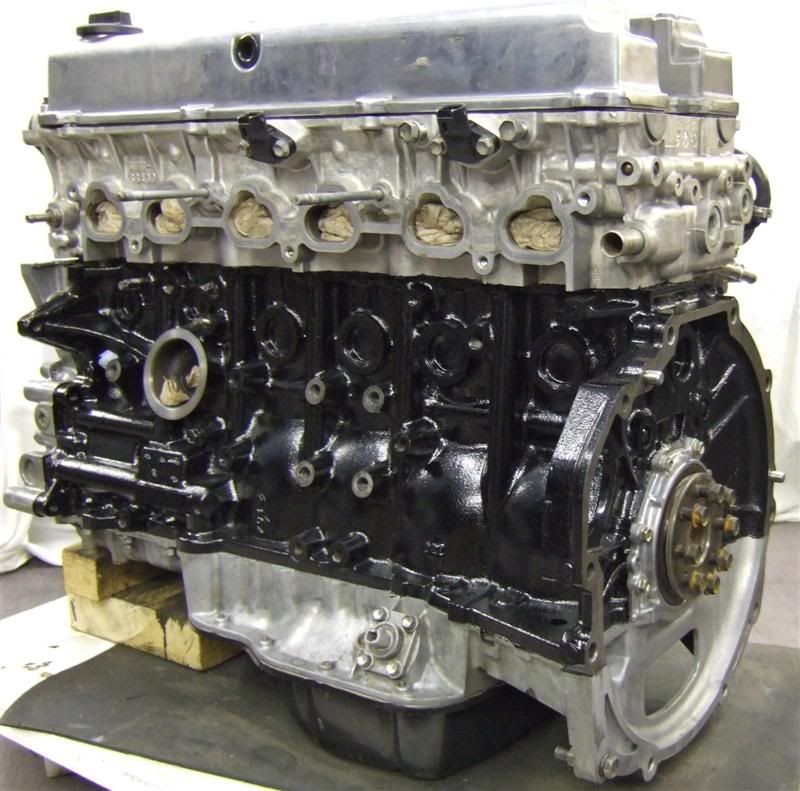
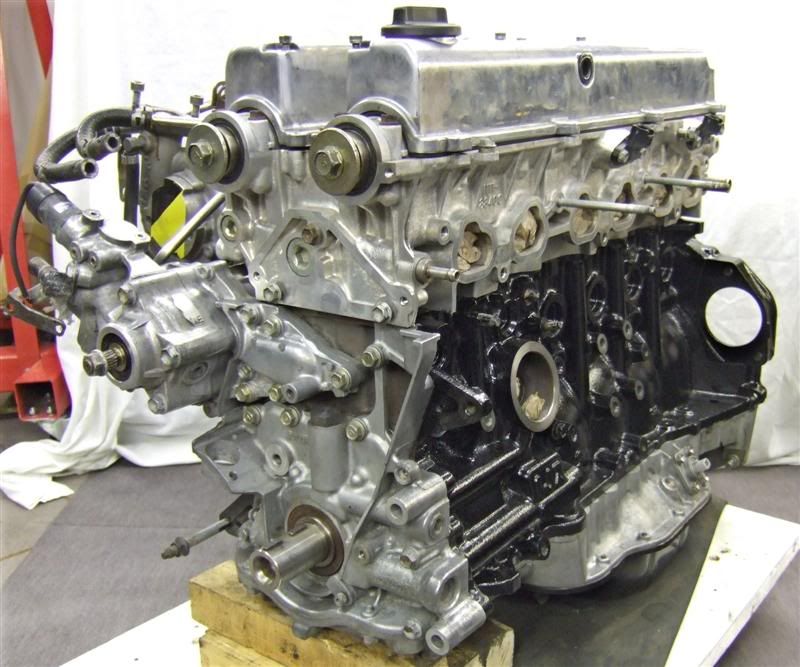
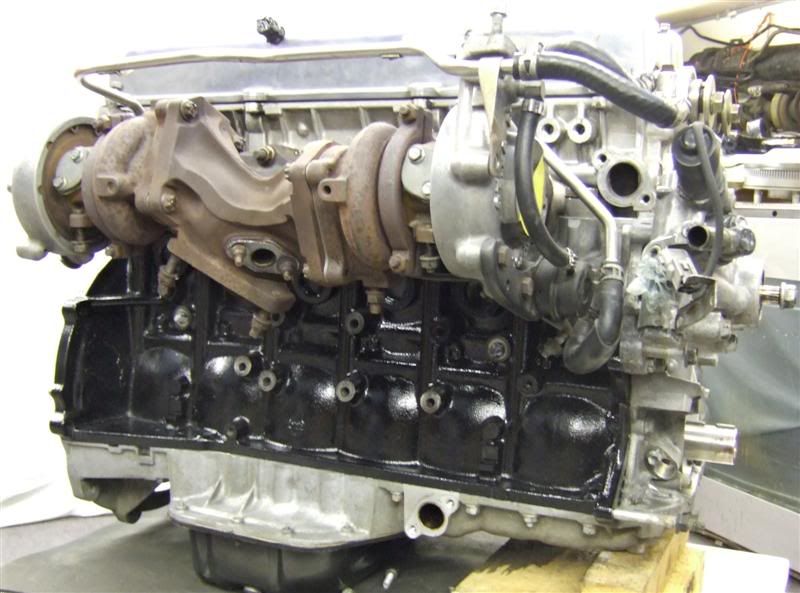
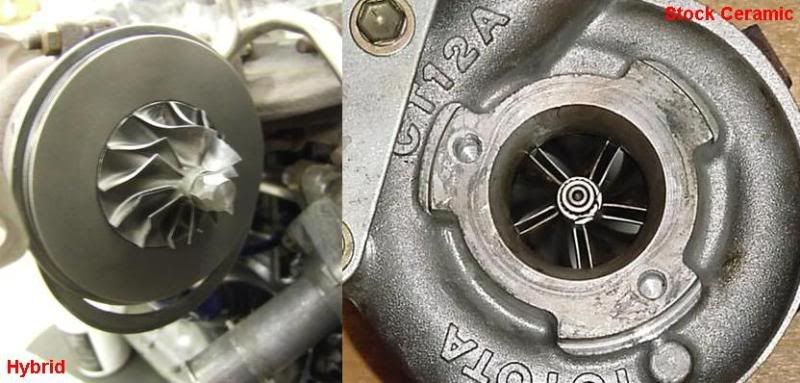
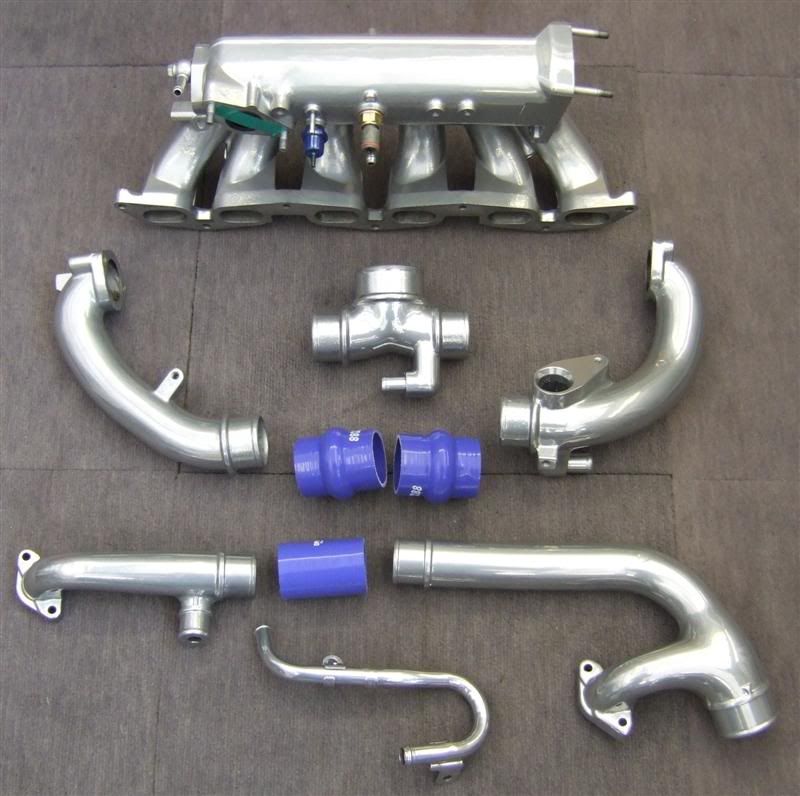
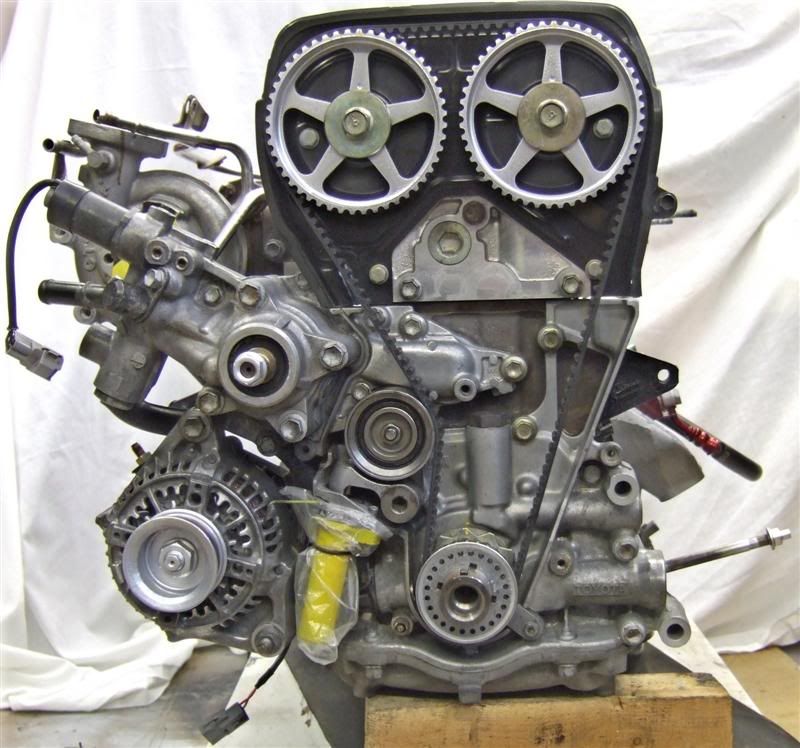
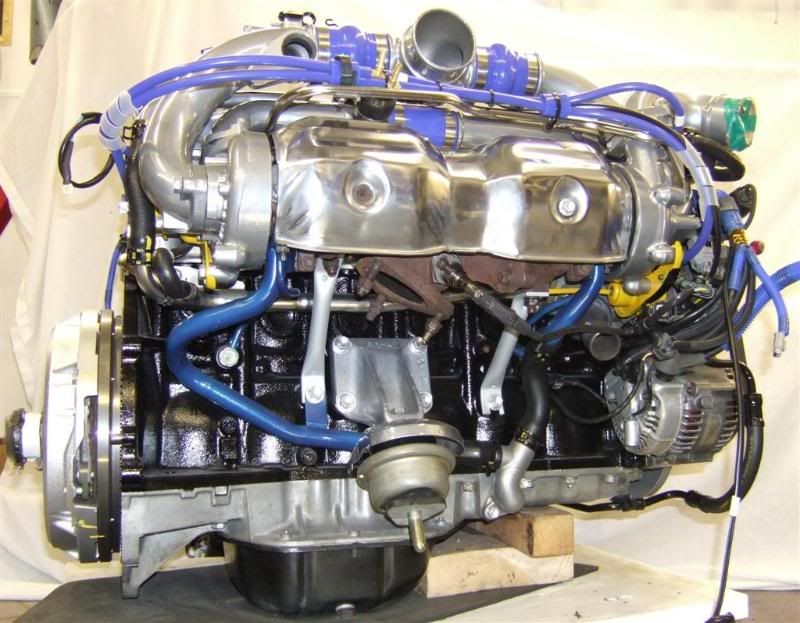
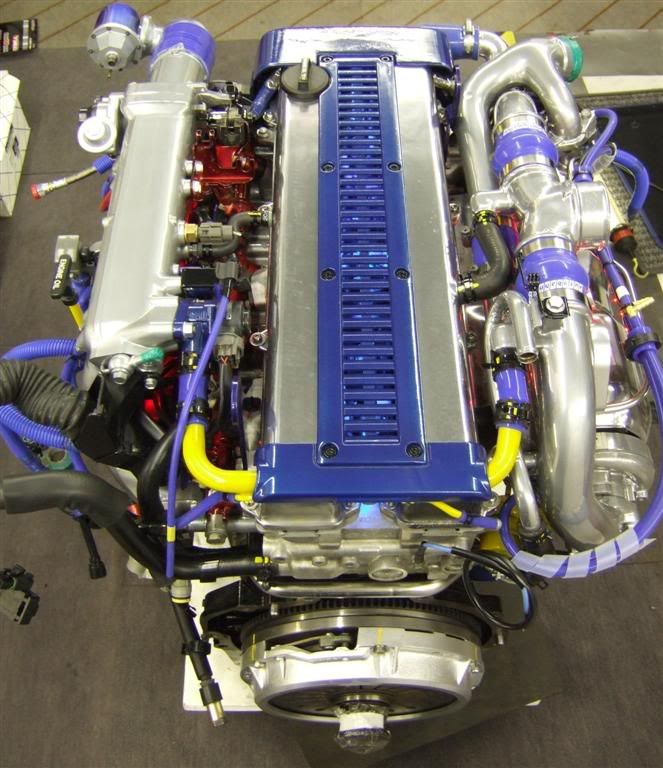
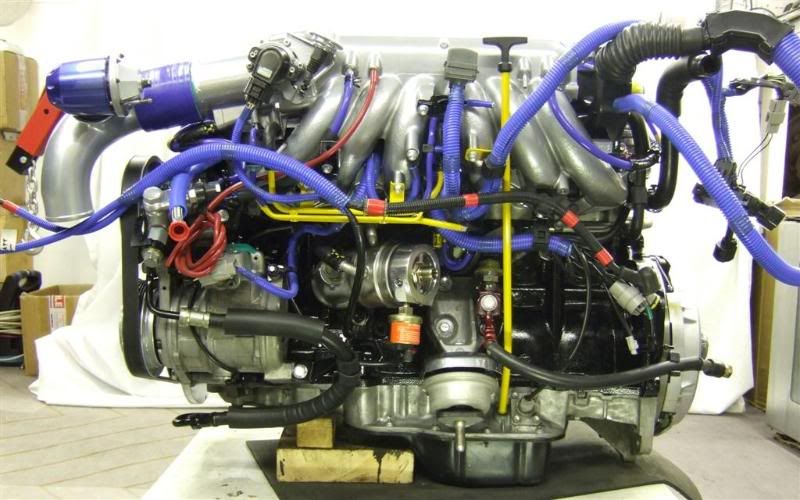
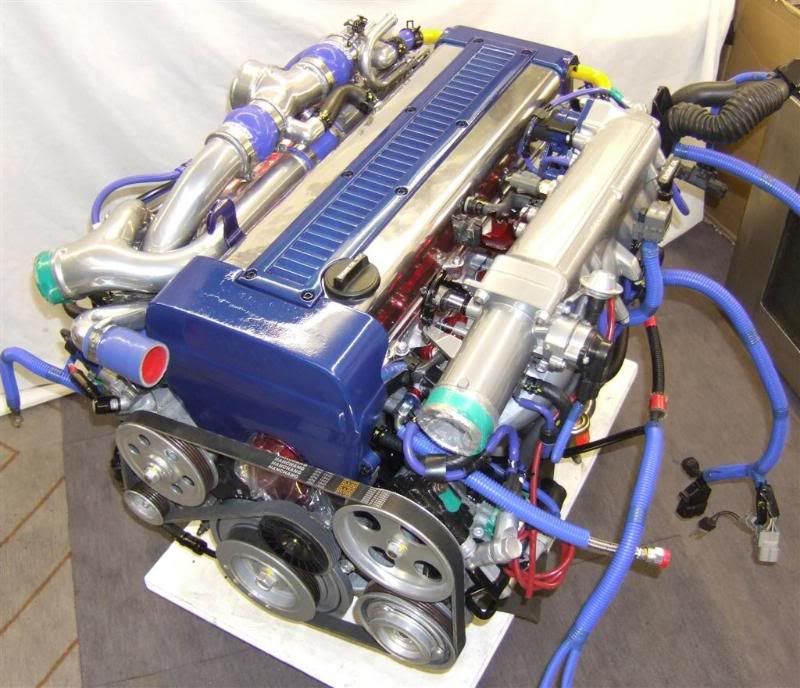
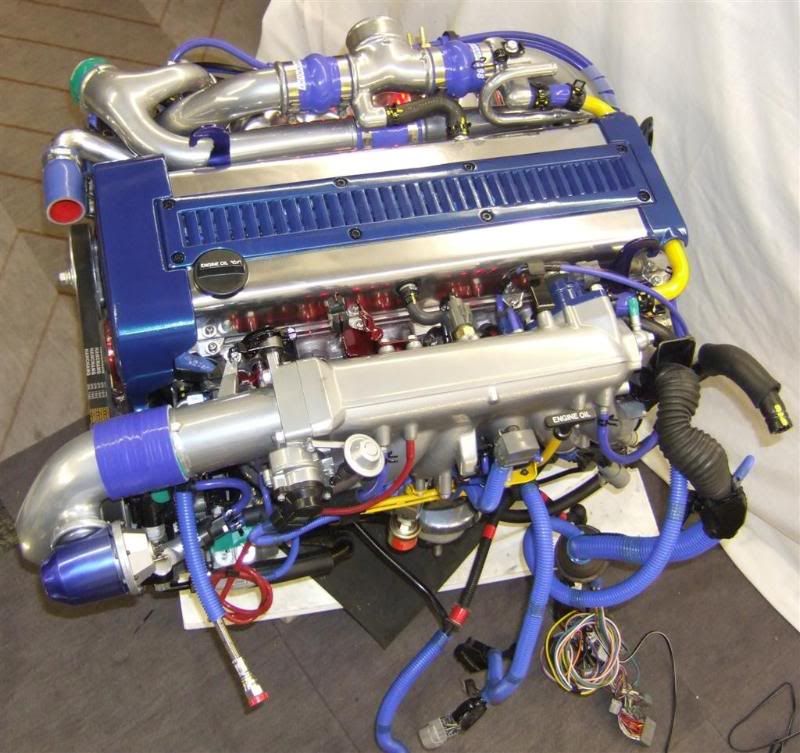
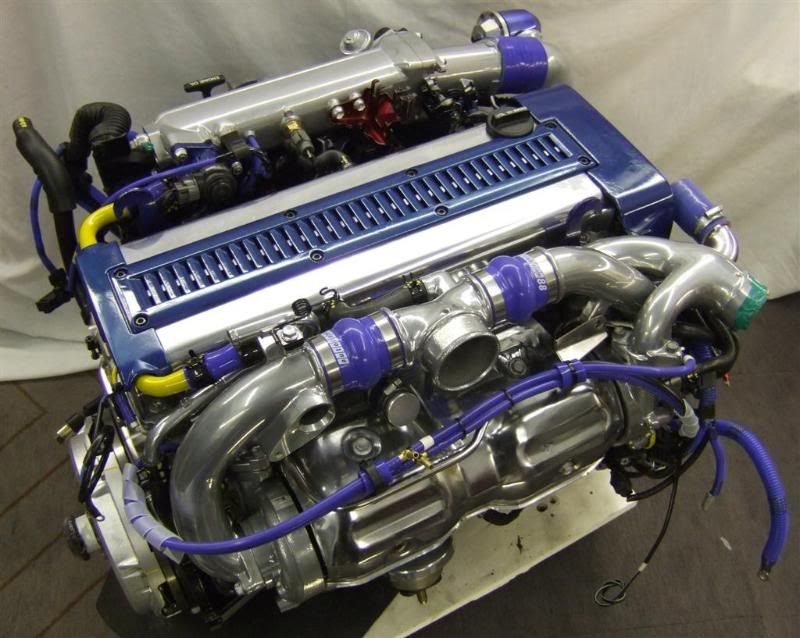
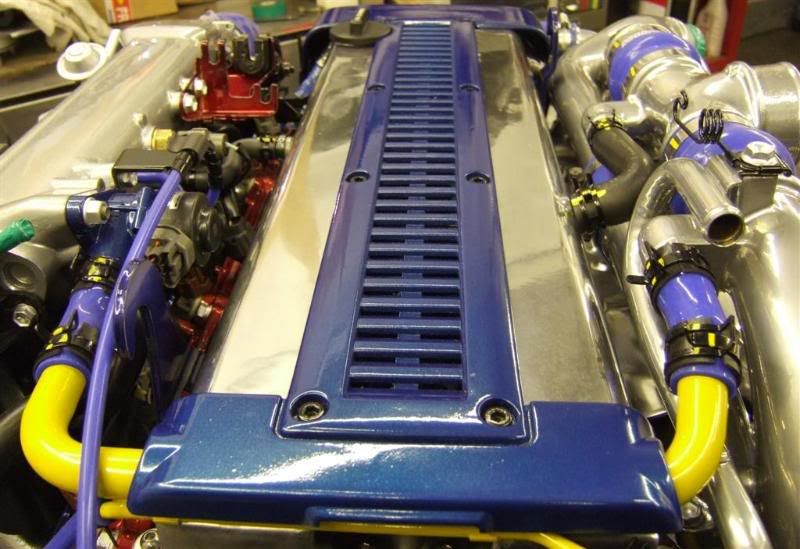
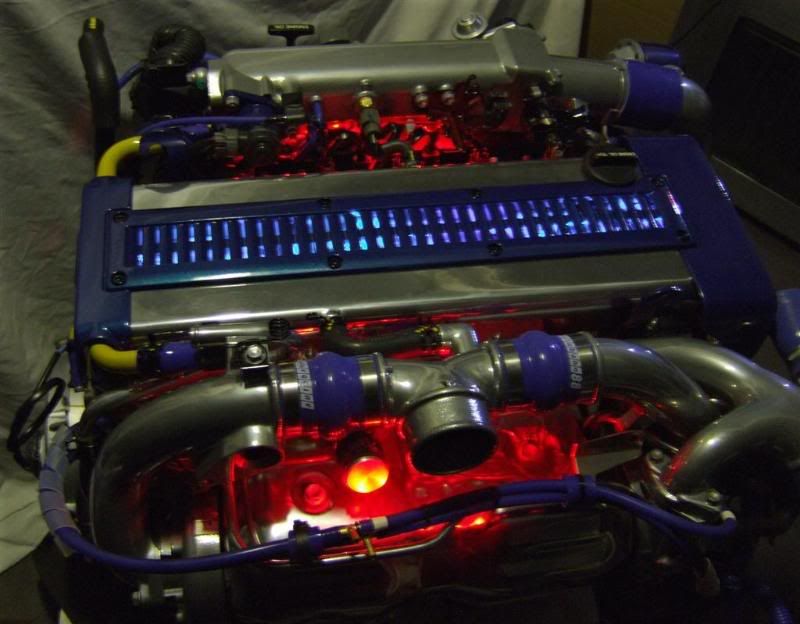
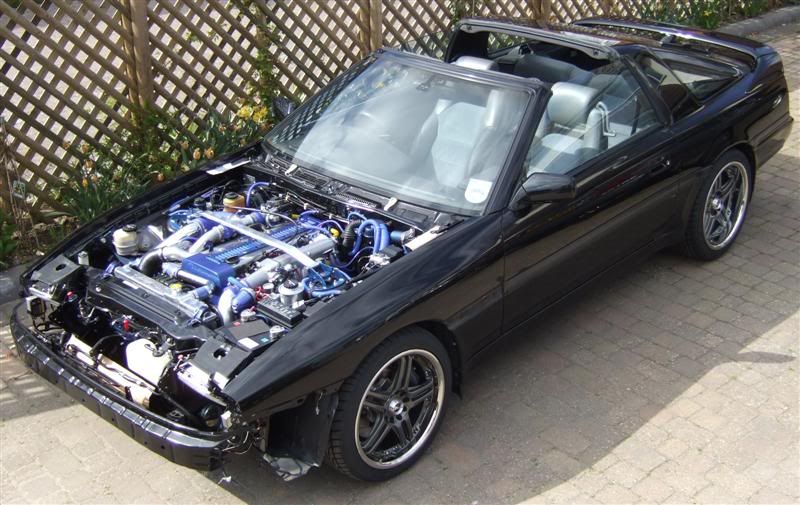
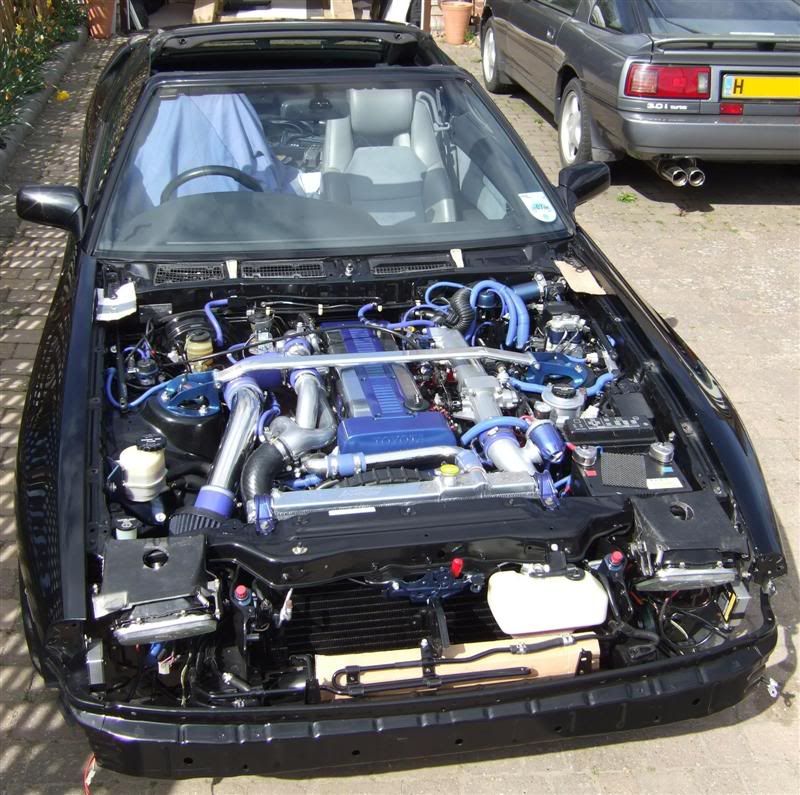
- Swapping the engine to the spare hybrided unit I have here. The aim is for around 450BHP or over if possible and reliable. This will be fitted with larger injectors, induction, MAP, exhaust, Koyo rad Walbro, 2J intercooler kit (allegedly fits) & standalone ECU - currently reseraching systems & pricing up.
- Manual transmission swap using 1j bellhousing, flywheel, Sports clutch, manual prop & pedal box.
- Full respray less engine bay, my aim is for the Aston deep grey titainium metalic as used on the DB's etc as this will really bring out the lines of the car. I shall be stripping the car down to no trim & removing bolt on items so they can be sprayed properly. Color coding the side mouldings but keeping the clear part of them unpainted.
- New front grilles - thinking along the lines of stainless diamond mesh in the 2 small grilles and the main lower intake - sort of XKR style. Thinking the black B pillar external vents may look pretty good in powder coat chrome or brushed steel finish if possible?
- Chrome alloys - same style as on car now but shinyer lol. will stick to 18" as 19's would dent on the first day out round here!
- Full LED conversion externally, HID main lights, hidden LED side markers built into side trims.
- Various internal custom electronics, aiming for a very factory look this time, less xmas tree. Much of the control etc will depend on what standalone ECU I opt for and the controls it requires.
- Complete ICE installation, music and vision.
- Interior tart up - tho very little is required as all leather is good with very slight wear and sued just needs a brush up. Would like to look into cost of having dash covered in something like alcantara or sued.
The story so far: 21/04/09
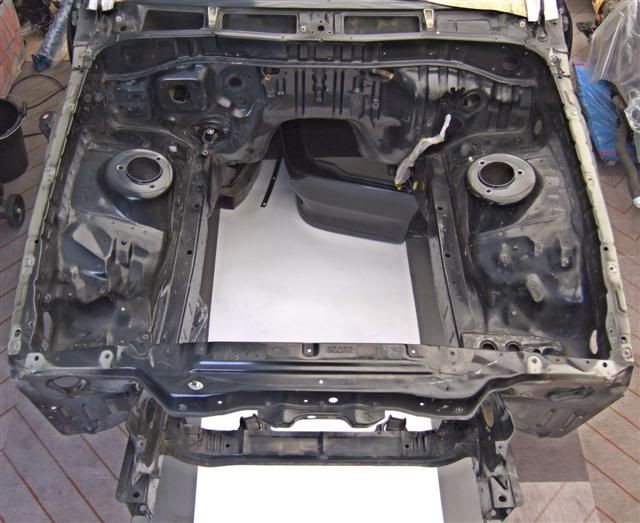
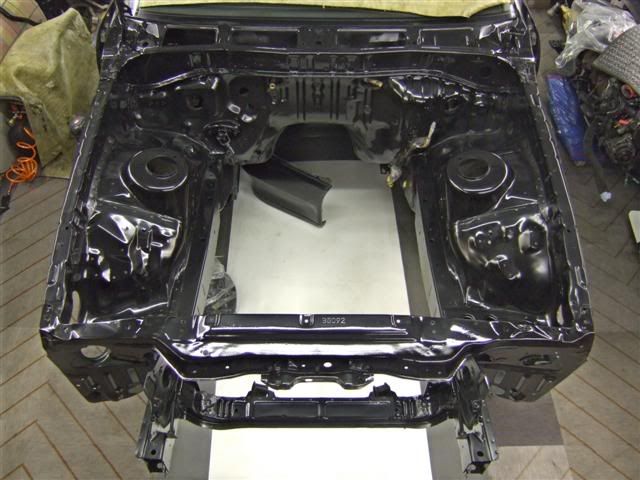
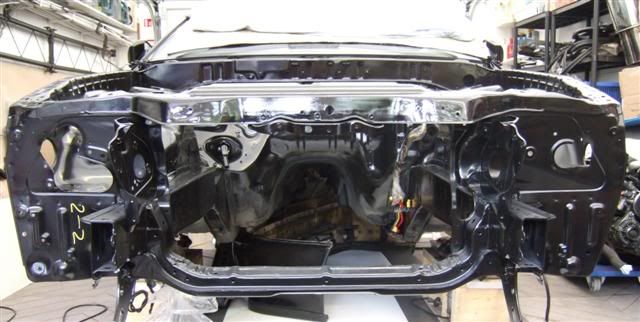
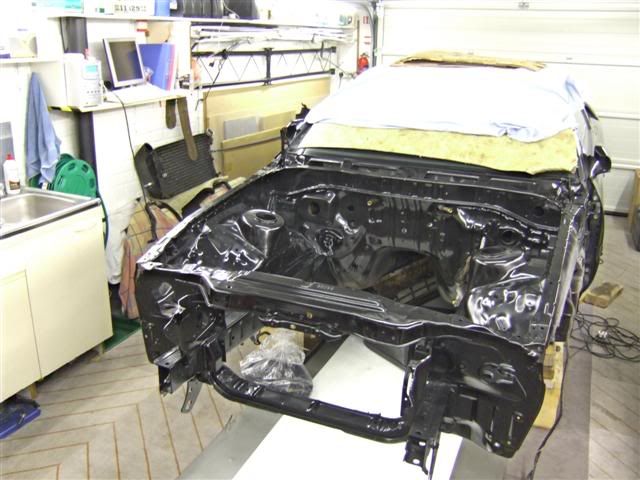
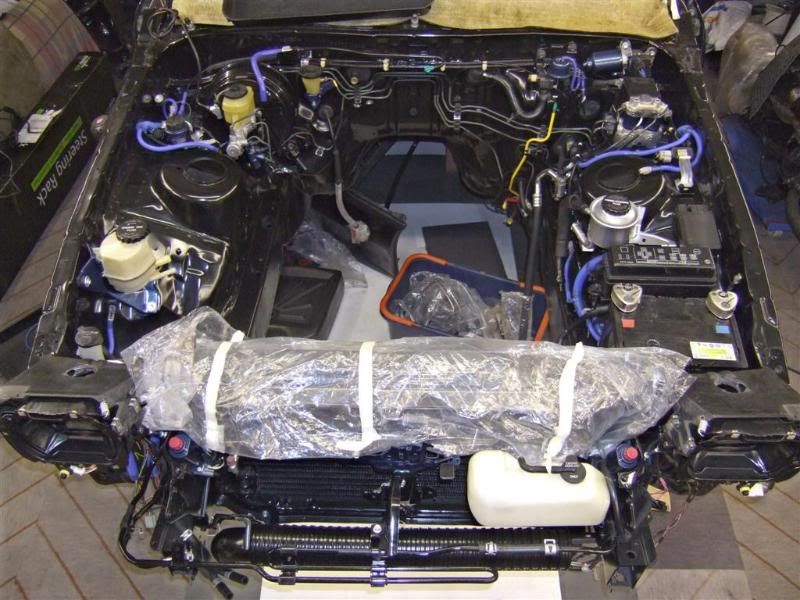
My write off has been totally stripped to the bone - not a single clip, bung or bolt remained on that vehicle, even body panels have been saved!
Can I just politely ask now, please kids don't deluge me with questions about spare parts at present. As and when parts are sorted I will post up items. Thanks.
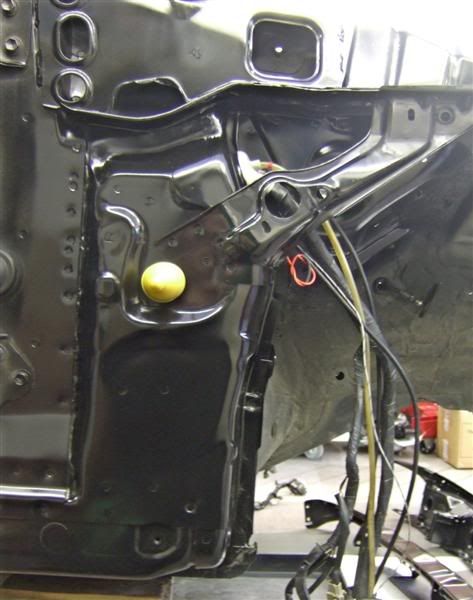
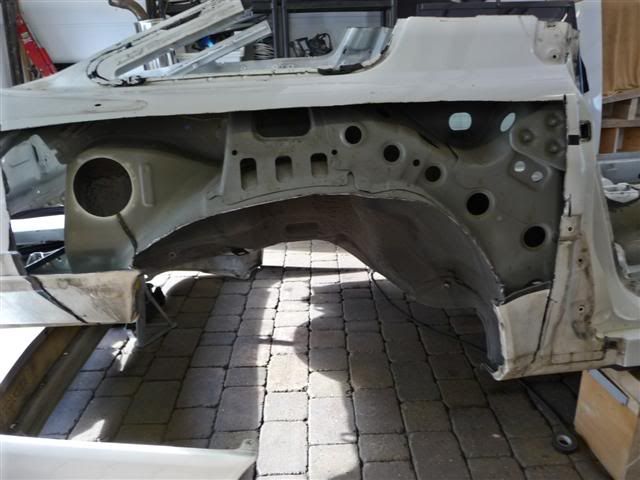
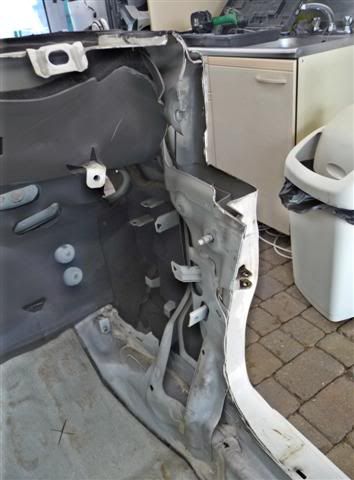
These are sad photos but, I wanted to show people the additional bracing clearly visible in the Aero chassis.
Here you can see the additional bracing in the rear arches which also latches into the doors by a bracket when they close. The brace directly below the top shock mount is always present.
And again, at the bottom of the A pillars you can see additional bracing welded behind the kick panels. The sills of the aero cars are also a much heavier grade high strength steel compared to the hard tops which are standard body thickness.
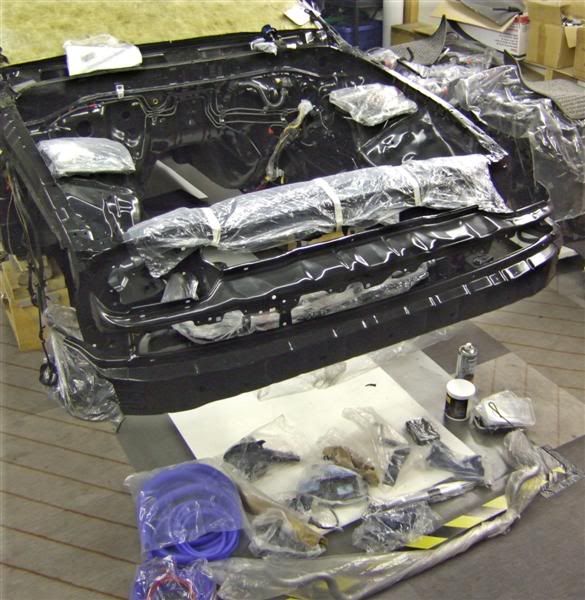
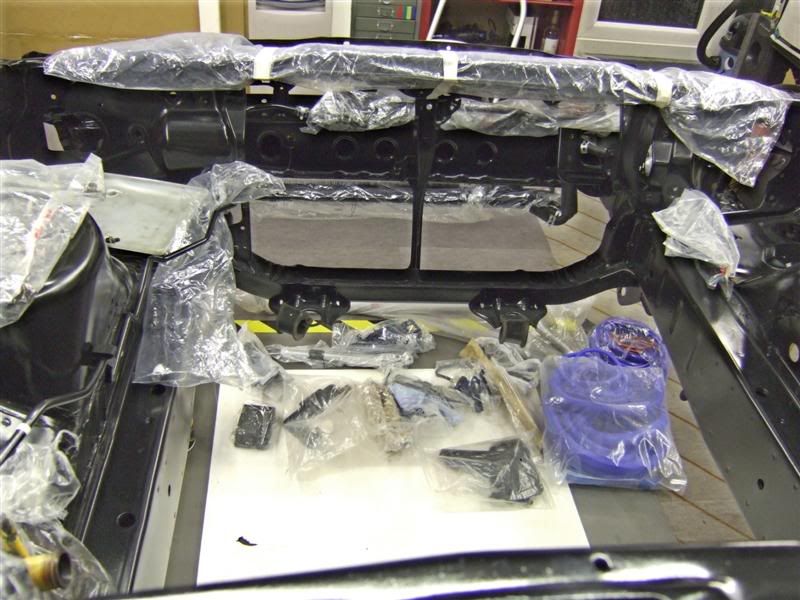
With this shell now gone and boxes of parts at my disposal the strip down of the black car can start.
I have decided to do this in stages:
1)Strip and rebuild the suspension, mod the engine, paint & seal the underside and refit all.
2)MOT and shake down of mechanics, tune.
3)Strip interior completely & remove. De trim the car and get car painted with strict instructions not to over spray the underside!!
4)Put it all back together with custom electronics, ICE and enjoy it!
The reasoning for doing it this way is I feel the car is most susceptible to damage during all the mechanical work so, better to do all that pre painting!
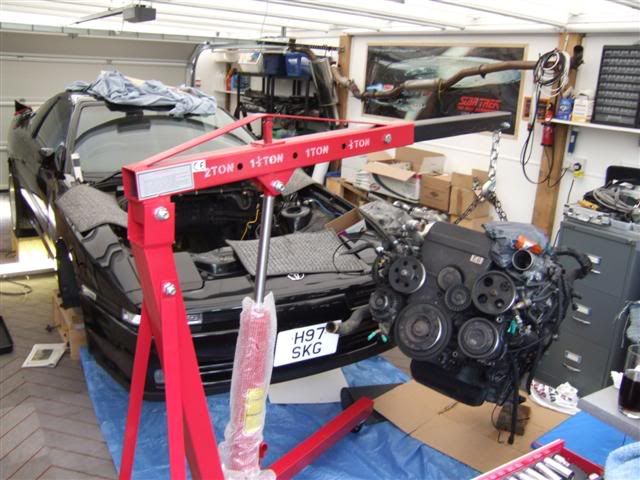
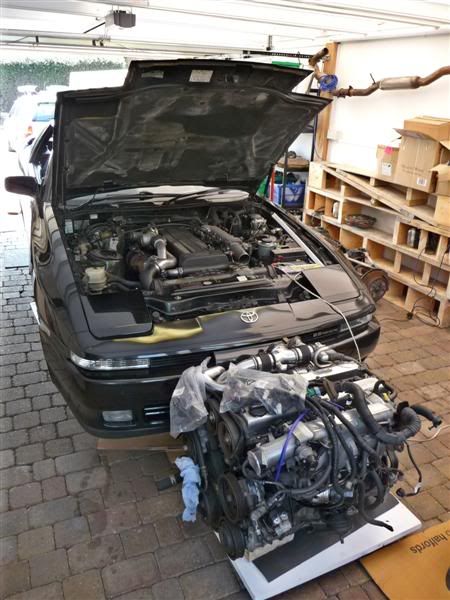
General shot with spare power plant on wheels - This 18 year old virgin is about to have it's undercarriage serviced.
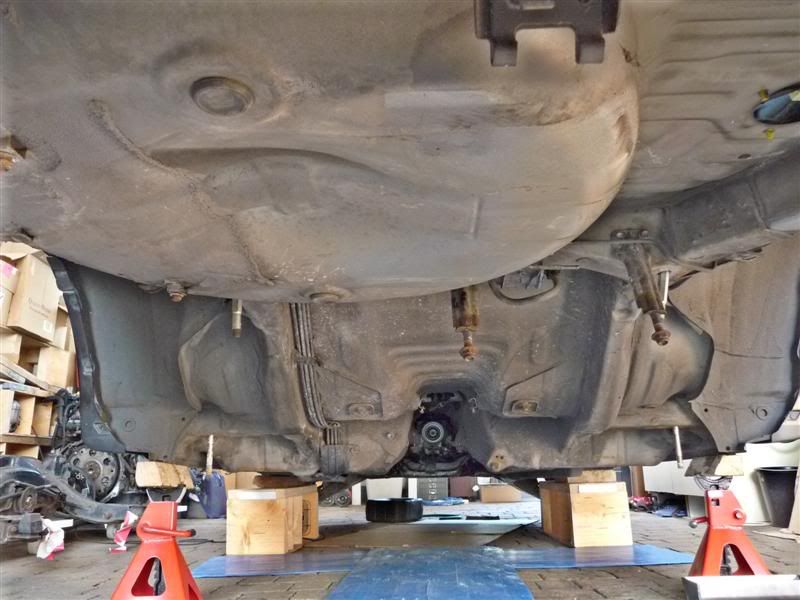
Rear underside stripped down, thanks to not being in the yUK for long the underside is rust free & came apart a dream.
****
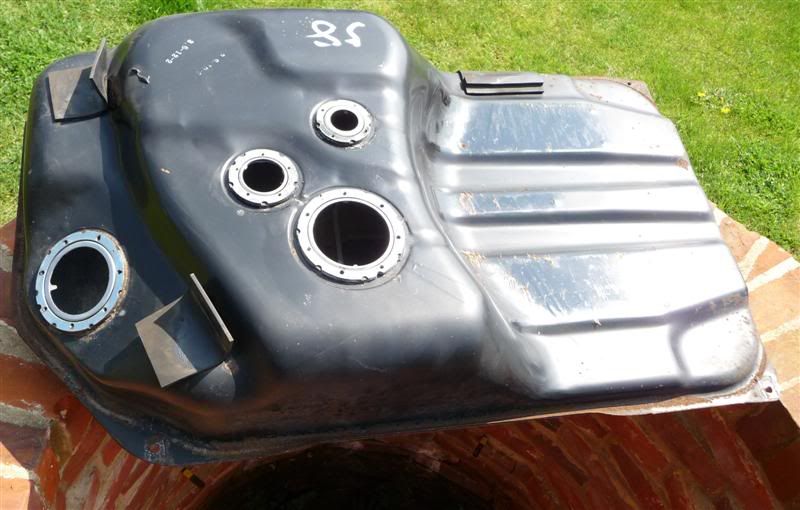
Little tip for emptying & cleaning the fuel tanks without getting covered in the stuff -
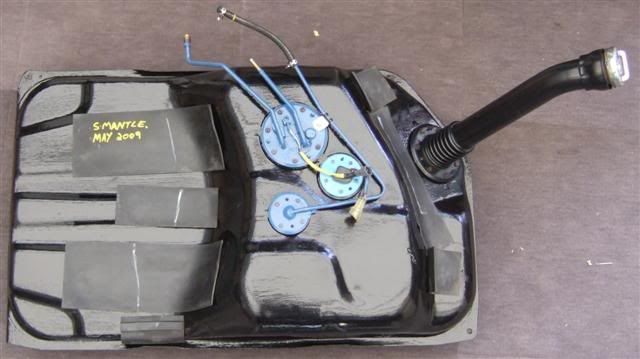
Drop tank full, complete with filler neck & electrics.
Tape up the 3 pipes and clean the thing now, wile its sealed up, jet wash, scrubbing brushes whatever, the top will be filthy!
Attach a piece of hose pipe the the outlet nipple - just pushes on. Pop the pipe into a receiving petrol filler or container.
Put some crock clips on the pump power leads - make sure they won't short then, run the thing off a car battery - again keeping sparks away from fuel vapour!!
It just gently empties out the tank to just a few litres. these can then be emptied into a bucket by removing the filler neck - real clean and easy compared to using the drain bung! Leaving the opened tank in direct sunlight for an hour or so will then evaporate any remaining fuel leaving the tank safe and dry.
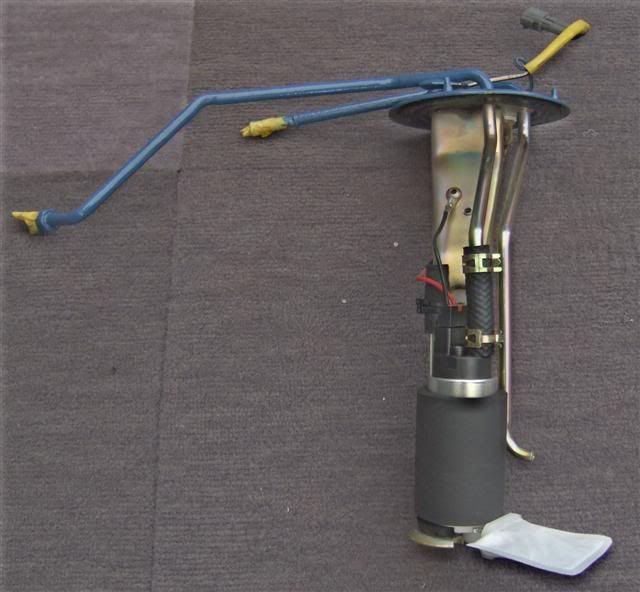
This tank is in near perfect shape & only requires a little clean up and paint. Walbro needs fitting into here before refitting & will prob clean the sender unit too for good measure.
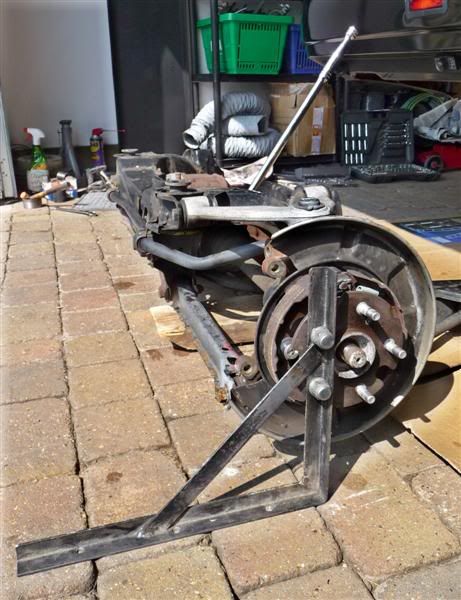
Like a numpty I forgot to loosen the drive shaft mounting bolts & hub nut while wheels were on, this could have been a problem had I not found a large shelf bracket.
2 holes later & this proved an absolute dream bit of toolage allowing me to lock the drive shafts just like that. Simple solutions are the best!
Got the rear sub frame completely stripped on Sunday down to a giant jigsaw. No busted nuts or bolts, the rear lower cam bolts were the only 2 that gave me any hassle at all but, after a bit of persistence came out no problems. & yes - I have marked parts left and right although, after this the car will be realigned fully.
Behind the stripped sub frame is a complete one just for interest.
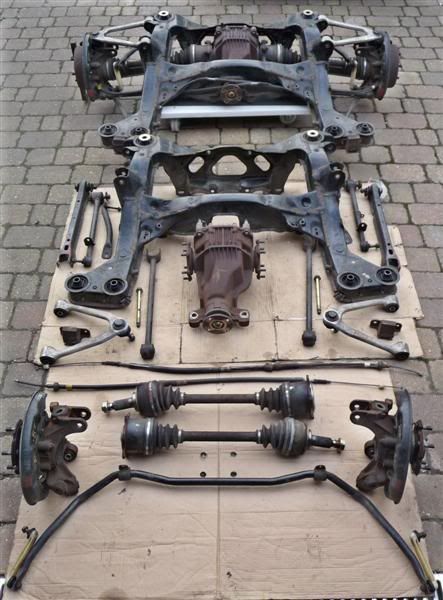
Interestingly between the earlier (in bits) and later (behind complete) sub frames I noticed one slight difference.
It seems the rear strut rods on the later car have a definite deliberate bend in them where as the earlier 91 strut bars are completely straight. Why this who knows, possibly the bent one offers a degree of "spring"? Alternatively there was a factory Friday fook up, they were too long so a slight bend was incorporated so they fitted
That's it for now, lots of cleaning up and bushings to remove next! Updated then.
Update: 10-05-2009.
So, been a busy week and a bit.
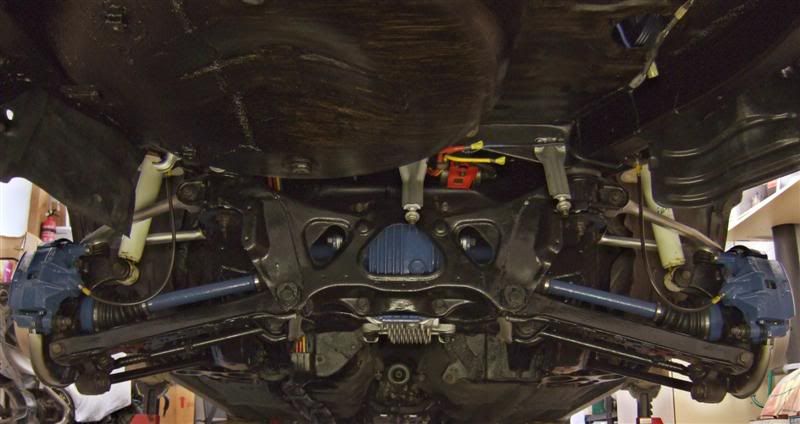
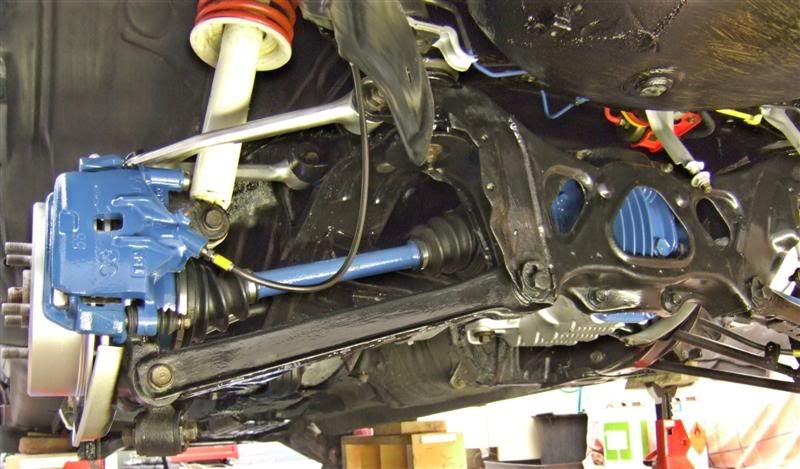
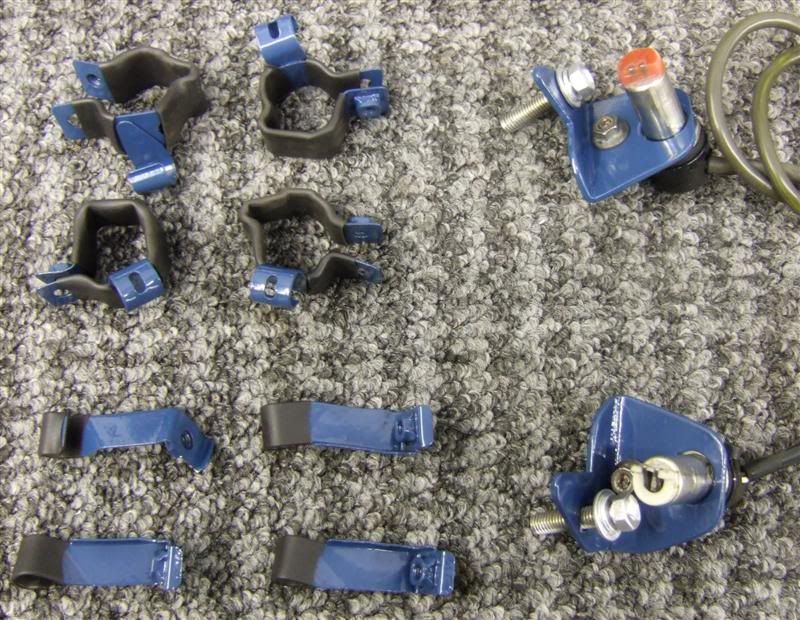
Remember that dirty rear sub frame? Well it's now a rather nice collection of uber clean colour coded chunky bits of metal which, I have to sadly admit, are rather nice just to touch and feel :naughty: Shame they are gonna go back on the underside of the car really!
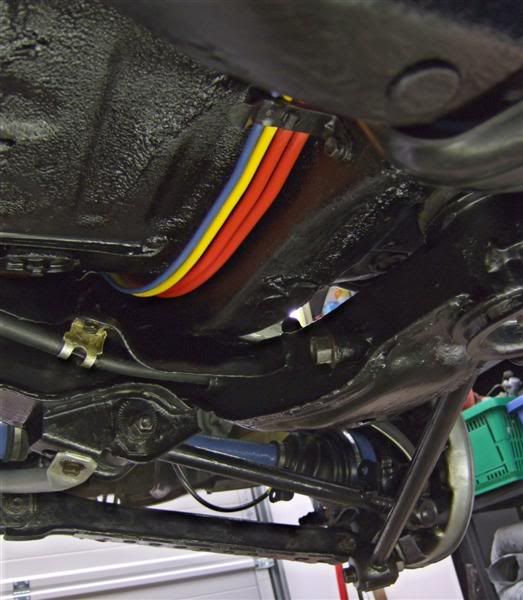
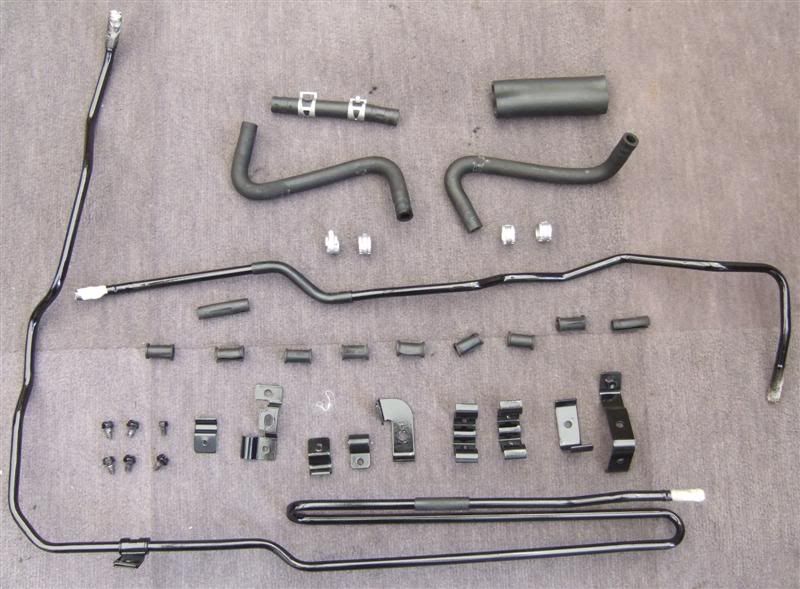
I have not skimped, every single item, and I mean EVERY single item from the smallest bracket or clip rite up to the fluid line umbilical have been painted in about 5 coats of hammerite.
I am determined for this vehicle not to rust!
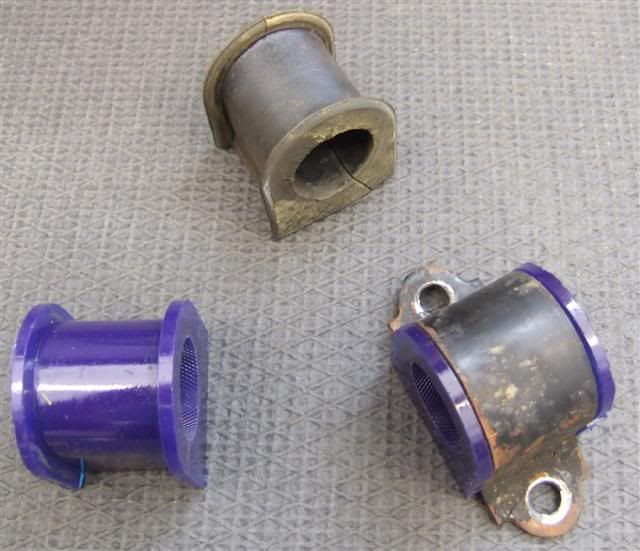
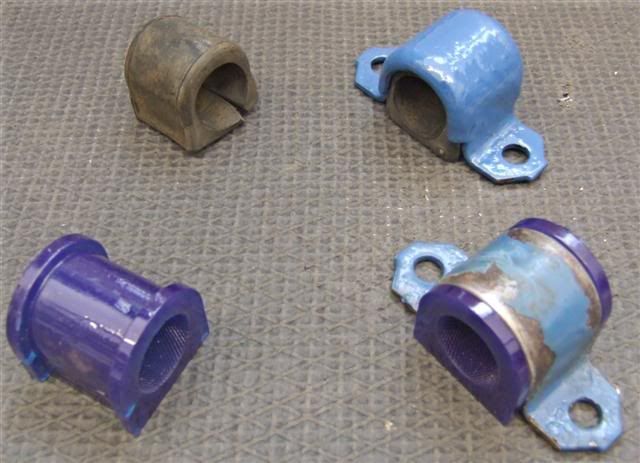
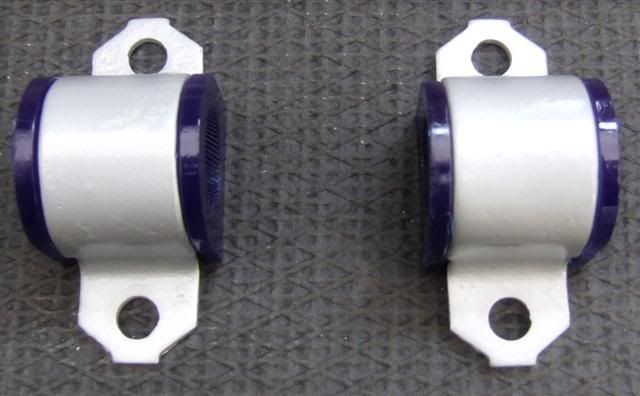
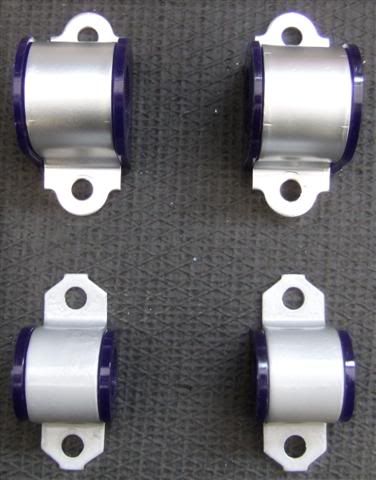
The polly bushes are all in and ready to go. I will coat the sub frame with waxoil too during fitting for more rust proofing.
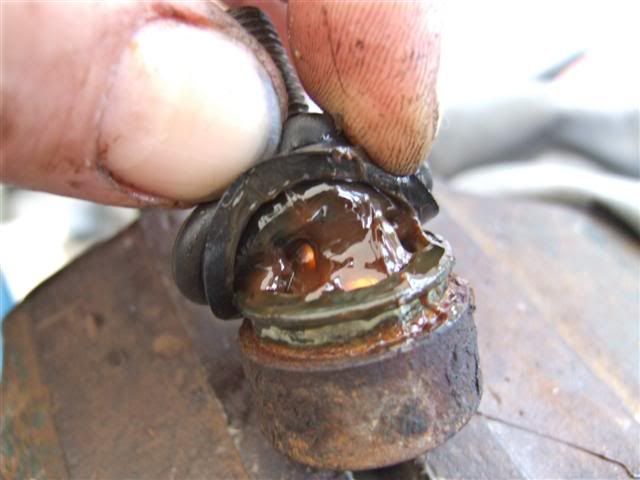
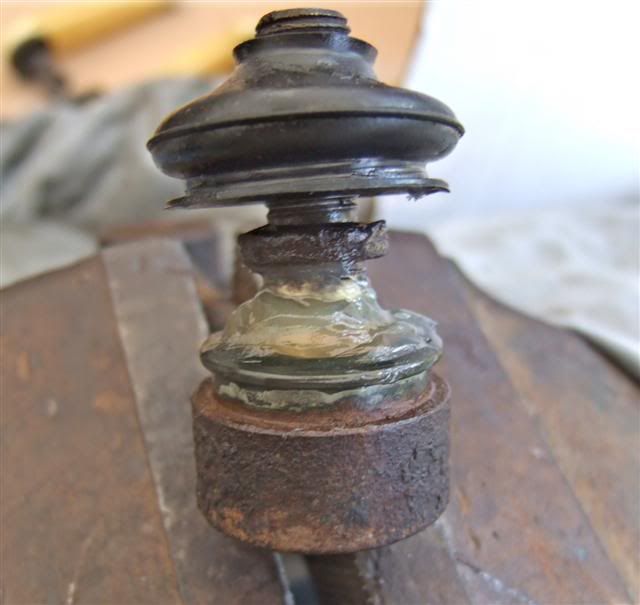
Thought I'd mention this too as, it's not obvious & you'll think your one bush short. One of the bushes on the rear hubs is not a bush at all and is in fact a ball joint. It's item number 42210 HERE All you need to do with this is pull back the rubber and refresh the LM grease inside.
If this ball joint is worn it can cause a "clacking" sound under braking etc.
I will probably offer the sub frame up empty then bolt all the parts back on once it's fixed to the car as it's all jolly easy to get to and means I don't need to wrestle with a huge lump of rather heavy metal!
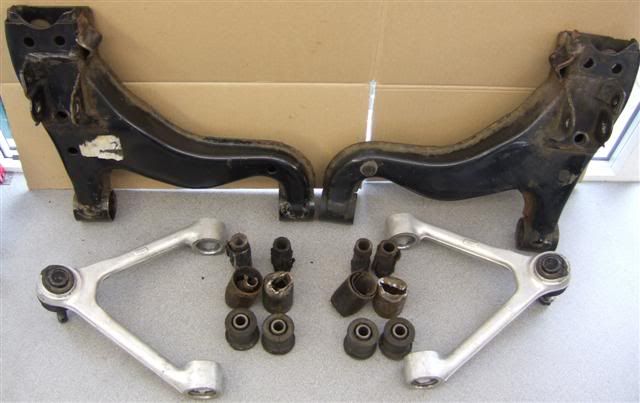
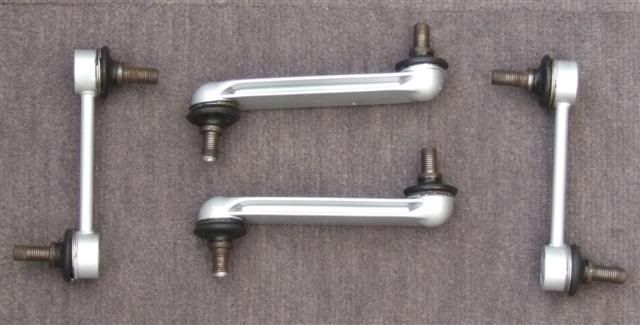
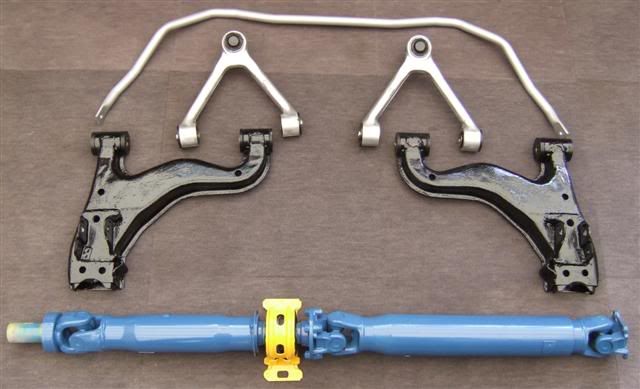
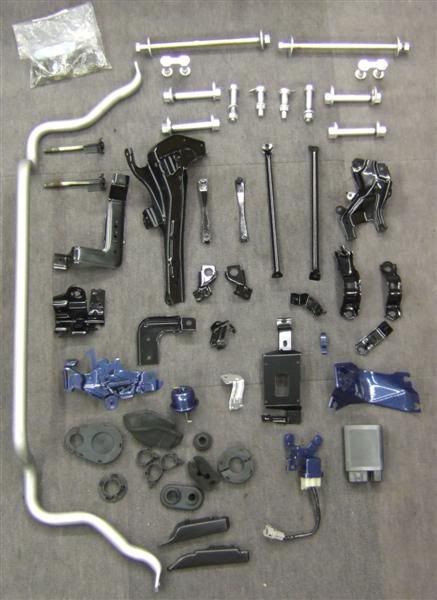
So, here are all the shiny parts so far:
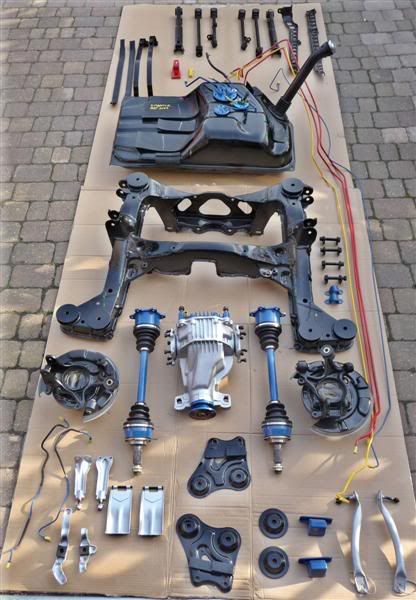
Sadly, I forgot to put the upper wishbones & all the restored bracketry into this shot, which is a shame. I actually polished the upper wish bones to a bright silver (not mirror tho, that's OTT) and clear coated them.
The fuel tank has had around 6 coats of paint, again, I am determined to rust proof this vehicle as much as possible!
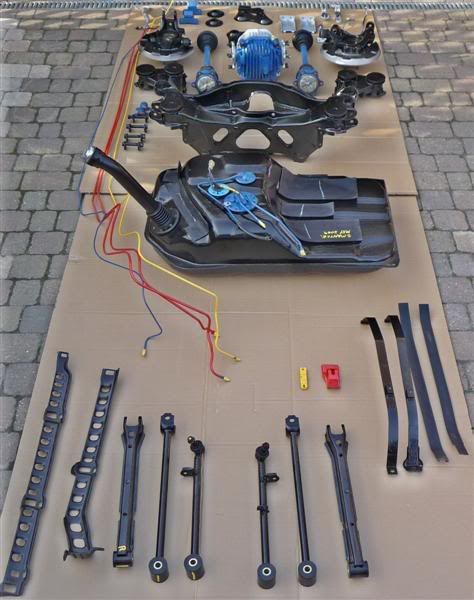
I am just awaiting the Walbro pump for the tank, then it can go back in.
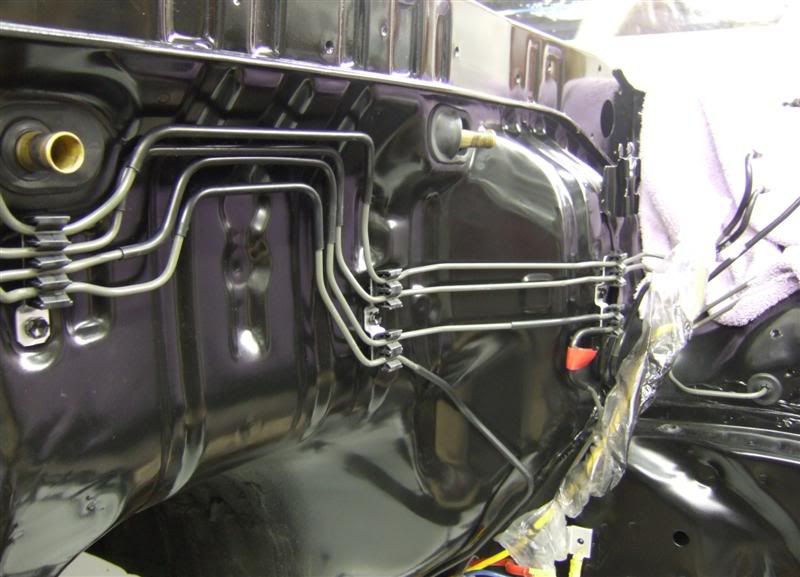
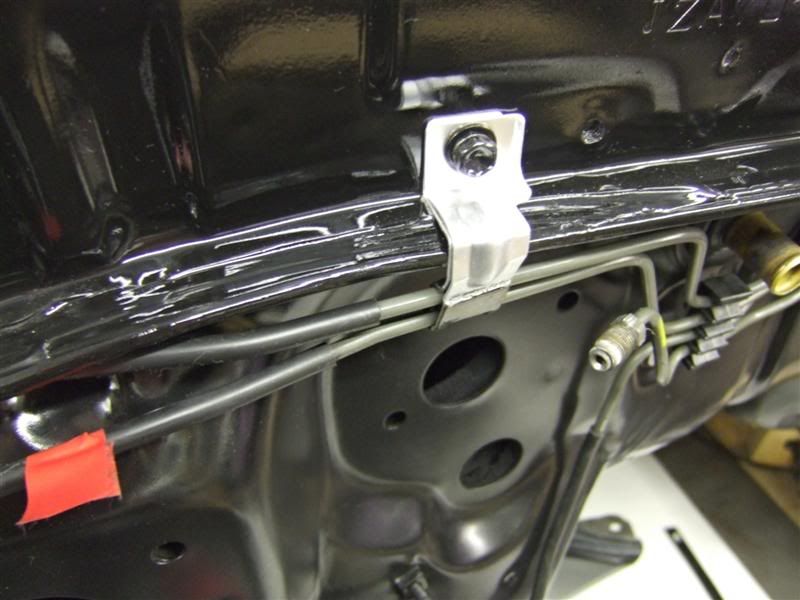
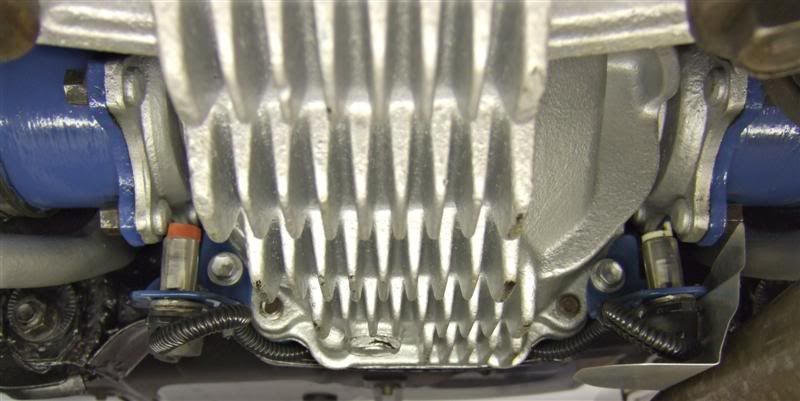
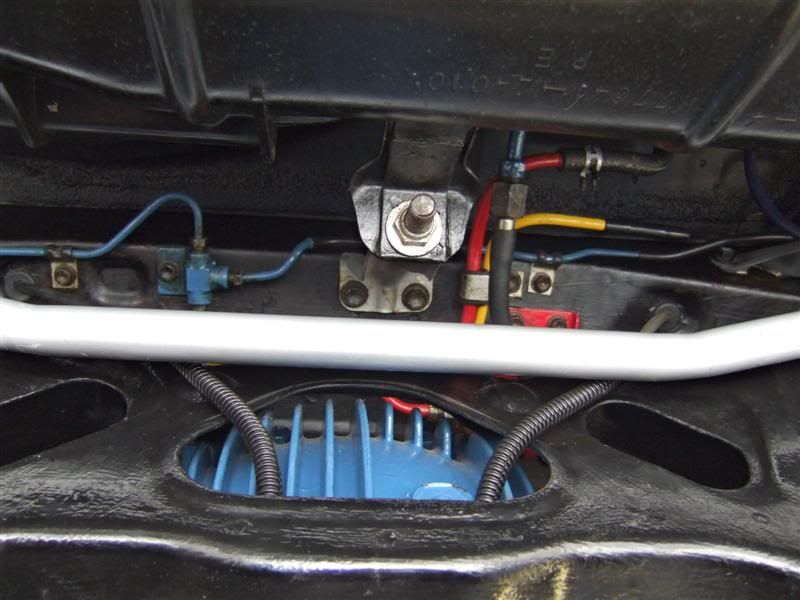
I did get taken in by the choice of paint colours so, red pipes are fuel, yellow are vapour and blue is brake
I have put the first coat of under seal on the rear part of the car. going to put a second coat on in places for good measure despite most of it being covered in thick rubber already. I have left the bottom of the wheel well until the fuel tank goes on otherwise I come out from under the car looking like a coal miner!
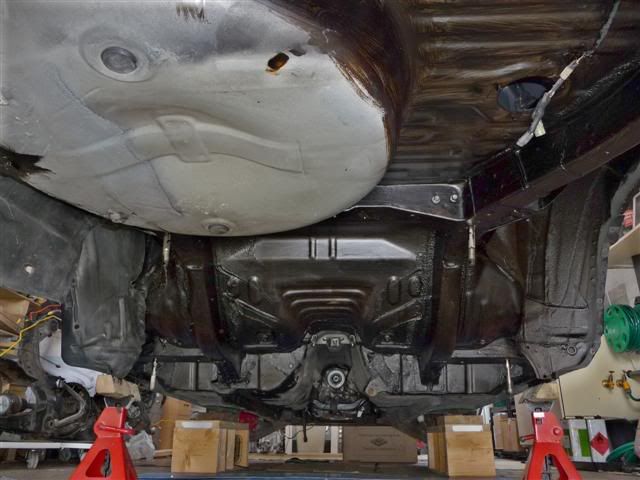
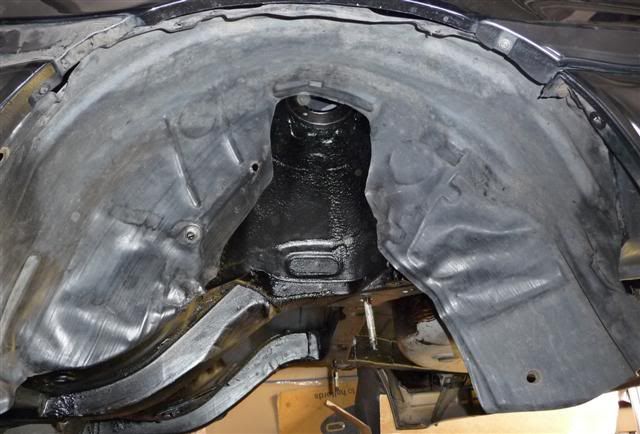
After the success of my DIY rubber rear arch liners I thought I'd have a go at trying to remould a pair of front wheel arch liners into the rear arches.
This I managed to do with some degree of success. The plastic if vacuum form stuff so, can be reformed with a heat gun and thick gloves.
I have managed to form these into the arches picking up on stock fixing points in the rear arch & only requiring 2 additional ones to be drilled.
This will keep the dirt from being driven into the weak spots of the rear arches.
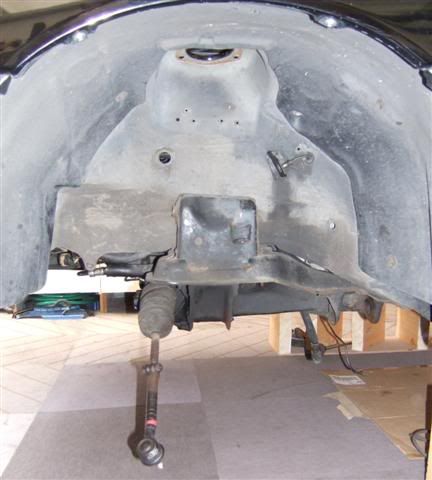
That's it for now. When my bits arrive from SSI I can fit the walbro and bolt the gas tank back up. Brakes etc are easy stuff. after that the project moves to the front sub frame and engine removal :icon_razz
I am now off to rehab for a few days to get over my solvent abuse problems from all the degreasing and painting!:aigo:
